WARNING: DURING THE INSTALLATION PROCEDURE YOU
WILL HAVE TO CREATE A NEW PARTITION TABLE ON THE
SDCARD/USB DRIVE, AND BY DOING SO YOU WILL
PERMANENTLY DELETE THE CONTENTS OF THE
SDCARD/USB DRIVE! THE DELETED DATA WON’T GO IN THE
TRASH, IT WILL BE PERMANENTLY DELETED!
I WARNED YOU!
Without kernel installation method 1.
1. Make sure you have enought space to download danuntu (the
download size of the tarball can be seen above the download mirror
icon). If you don’t have enough space you can try to download
danuntu on a secondary hard drive or on a usb drive.
2. Download the danuntu flavour you prefer (without kernel tarball
version).
3. Install gparted by executing one of the commands below. Make
sure you choose the right command your distro! If your linux distro
isn’t present in the list please use method 2.
Debian/Ubuntu/Raspbian/Danuntu
sudo apt-get install gparted
Fedora/Pidora
su -c "yum install gparted"
OpenSUSE
sudo zypper install gparted
4. Plug in your sdcard/usb drive and open up Gparted. Note: I
suggest that you use your internal sdcard reader, if present.
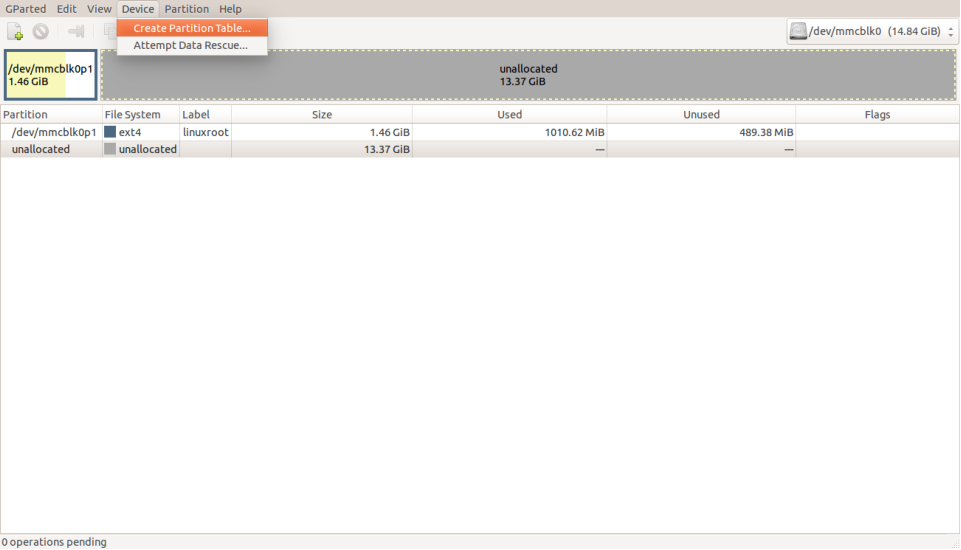
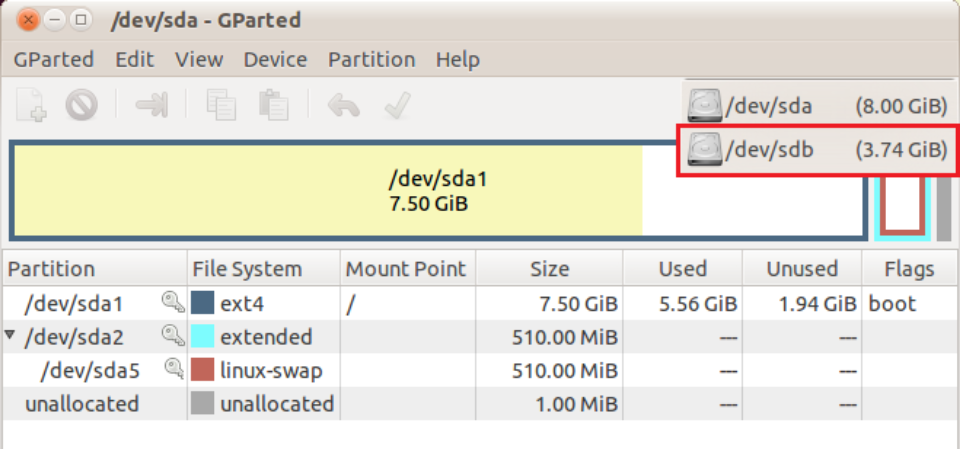
5. In Gparted select your sdcard/USB drive from the menu in the
upper-right side of the screen (also remember the device name, in
this case /dev/sdb). Be careful to choose the right device (choose it
by its size),
then click on the device dropdown menu -> Create Partition Table.
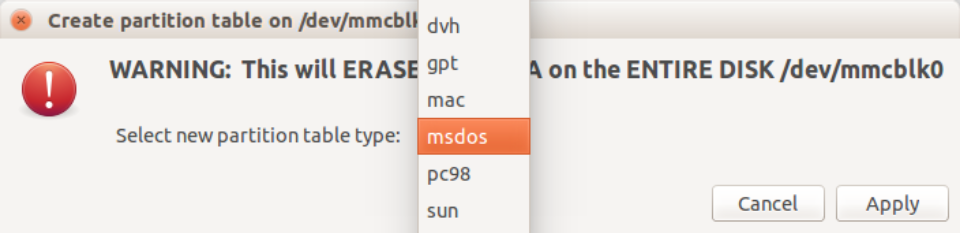
Set the partition type to msdos (gpt for 2TB+ usb hard disks) and
click on apply. As I wrote before,
WITH THIS ACTION THE CONTENTS OF THE SDCARD/USB
DRIVE WILL BE PERMANENTLY DELETED! THE DELETED
DATA WON’T GO IN THE TRASH, IT WILL BE PERMANENTLY
DELETED!
If you are aware of this, click on apply.
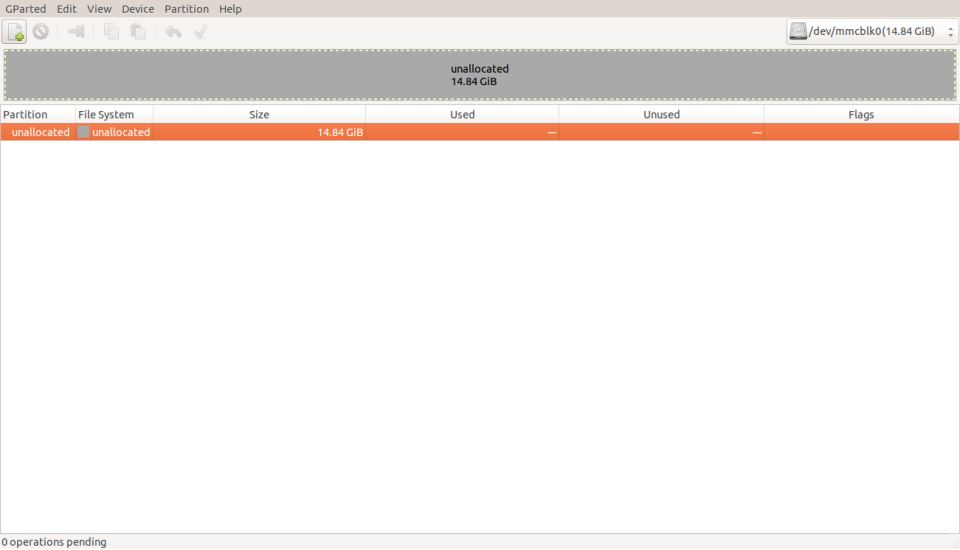
Once Gparted has finished recreating the partition table, click on
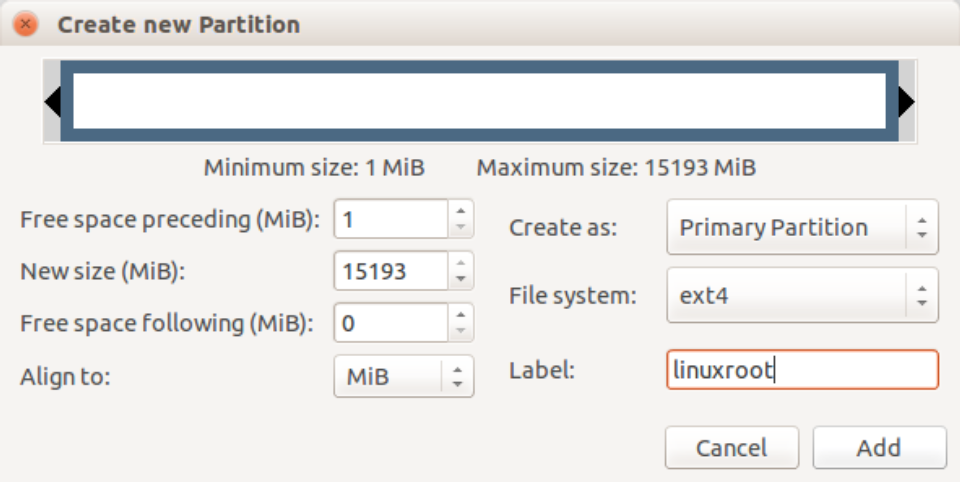
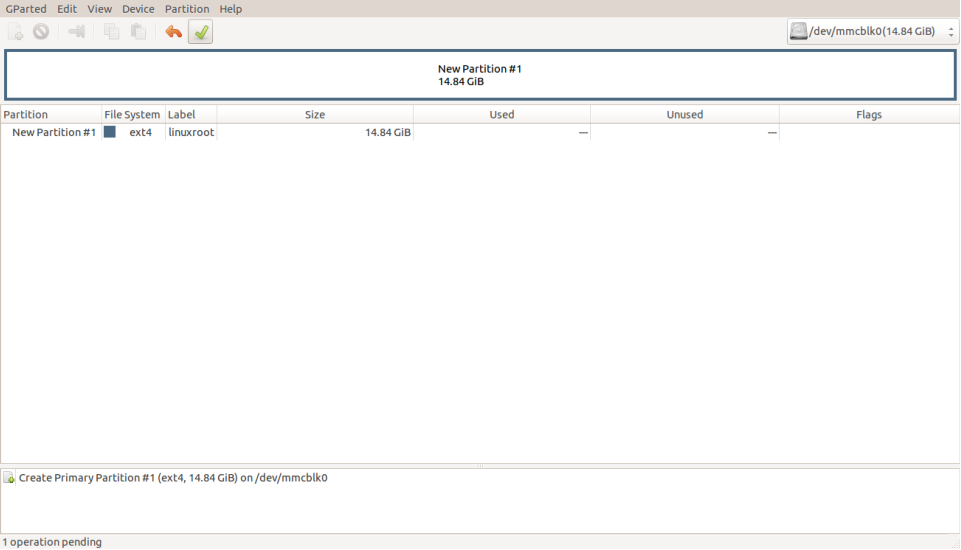
the plus button in the upper-left side of the screen,
and add a new primary partition with ext4 file system, linuxroot label
and maximum size.
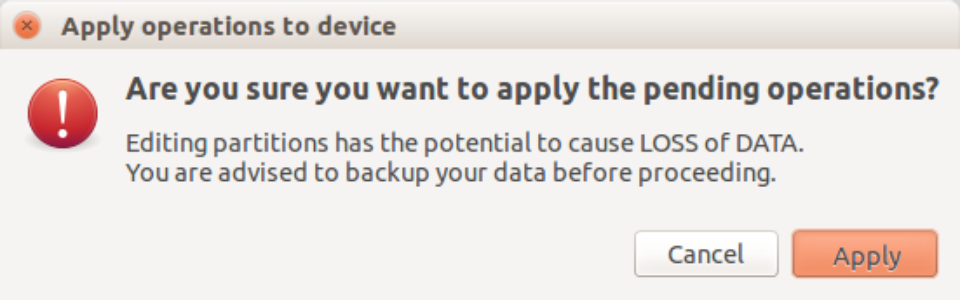
Next, click on the green tick button and
click on the apply button to apply the operations.
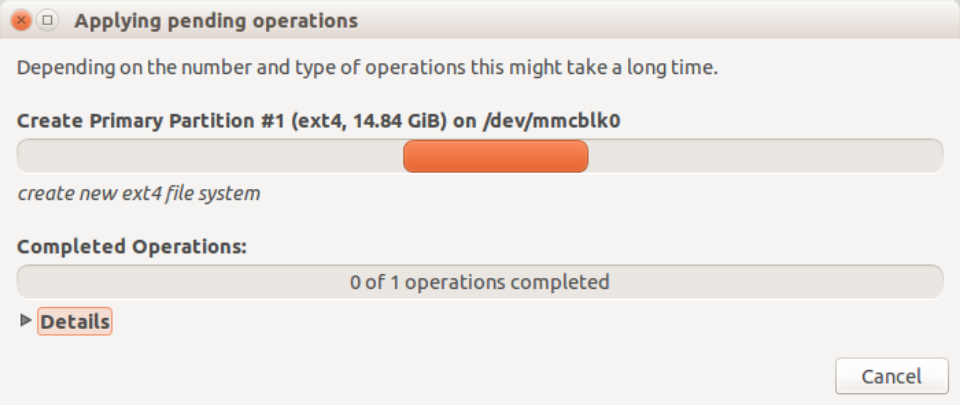
Wait until Gparted has finished creating the partition,
And close Gparted.
6. Disconnect and Reconnect your sdcard/usb drive and type
df -h
In the left column of the output of the command there should be the
device name that you have remembered before, while the right
column gives the mount point of your device: remember it.
If no new device appears in the list, type
mkdir makeupadevicemountpoint
mount devicename1 devicemountpoint
(devicename1 is the same mount point that you remembered
before only with a 1 added at the end of the name).
7. cd to the directory where you have downloaded danuntu and
type the following commands:
sudo su #type your password if asked
tar -xzpf danuntu-flavournamehere-picuntukern.tar.gz -C
devicemountpoint && sync && sync && sync
wait five minutes
If you are using a 2.0 usb drive or a class <10 sdcard, you should
also type
sync && sync && sync
and wait another 5 minutes.
8. Build/download a kernel (here’s a nice guide) for your CPU: you
can use Alok Sinha’s Picuntu 5.1 kernel for rk3066 touch devices
(phones and tablets) and for rk3188 CPUs you can use the Marvin
Picuntu kernel (for all of the other CPUs use google ;-) ). To install
the kernel extract/build your kernel and execute the following
commands to write it on your sdcard/USB drive.
rm -Rf mountpoint/lib/firmware
rm -Rf mountpoint/lib/modules
cp -a yourkerneldirectory/firmware mountpoint/lib/firmware
cp -a yourkerneldirectory/modules mountpoint/lib/modules
chown root:root -R mountpoint/lib/firmware
chown root:root -R mountpoint/lib/modules
sync
Then unmount your device. This can be done by typing
umount devicemountpoint
9. Disconnect your sdcard/usb drive. That’s it!